After having a little trouble with the symmetry I finally got it sorted and started working on my characters head, starting off by using Zspheres and working from there. I find that the ZSpheres are a really nice starting point to create a model and are so easy to use. As my design was in 2D I had to work out how all the pieces on her head would work and have to be placed to make it look like my concept. This took a lot of moving and placing but I finally got there.
After that I created a adaptive skin and just keep tweaking it to make sure I was getting the right shapes and that each piece was smooth. I then had a little trouble with remembering how to add the eyes but I got there eventually and ended up with a piece I was happy with.
2. Creating the body and adding the head
I found working on the body fairly easy as I have already had a go before which didn't turn out so well but this time I managed to get it right. Once the adaptive skin was turned on I was able to change the size of the waist and bust to make it fit the design I drew up as they were a little thicker than I would have wanted.
Once I was happy with what I had made I added the head I had previously created in as a new sub tool. The sizing was an issue as I found the 'move' and 'scale' tools very difficult to use this time around as they were never consistent and kept doing what I didn't want them to do. I managed to work it out in the end, only to find that the symmetry on the body I had created has gone slightly off so my tutor Mark had to help me sort it out.
After these string of problem were resolved I was able to mask off an area of a body and create the dress. Unfortunately some of the 2d elements didn't come across brilliantly in this part of the 3D sculpting process but I made do and I am still pleased with how it looks.
3. Adding the back piece and finishing off the model
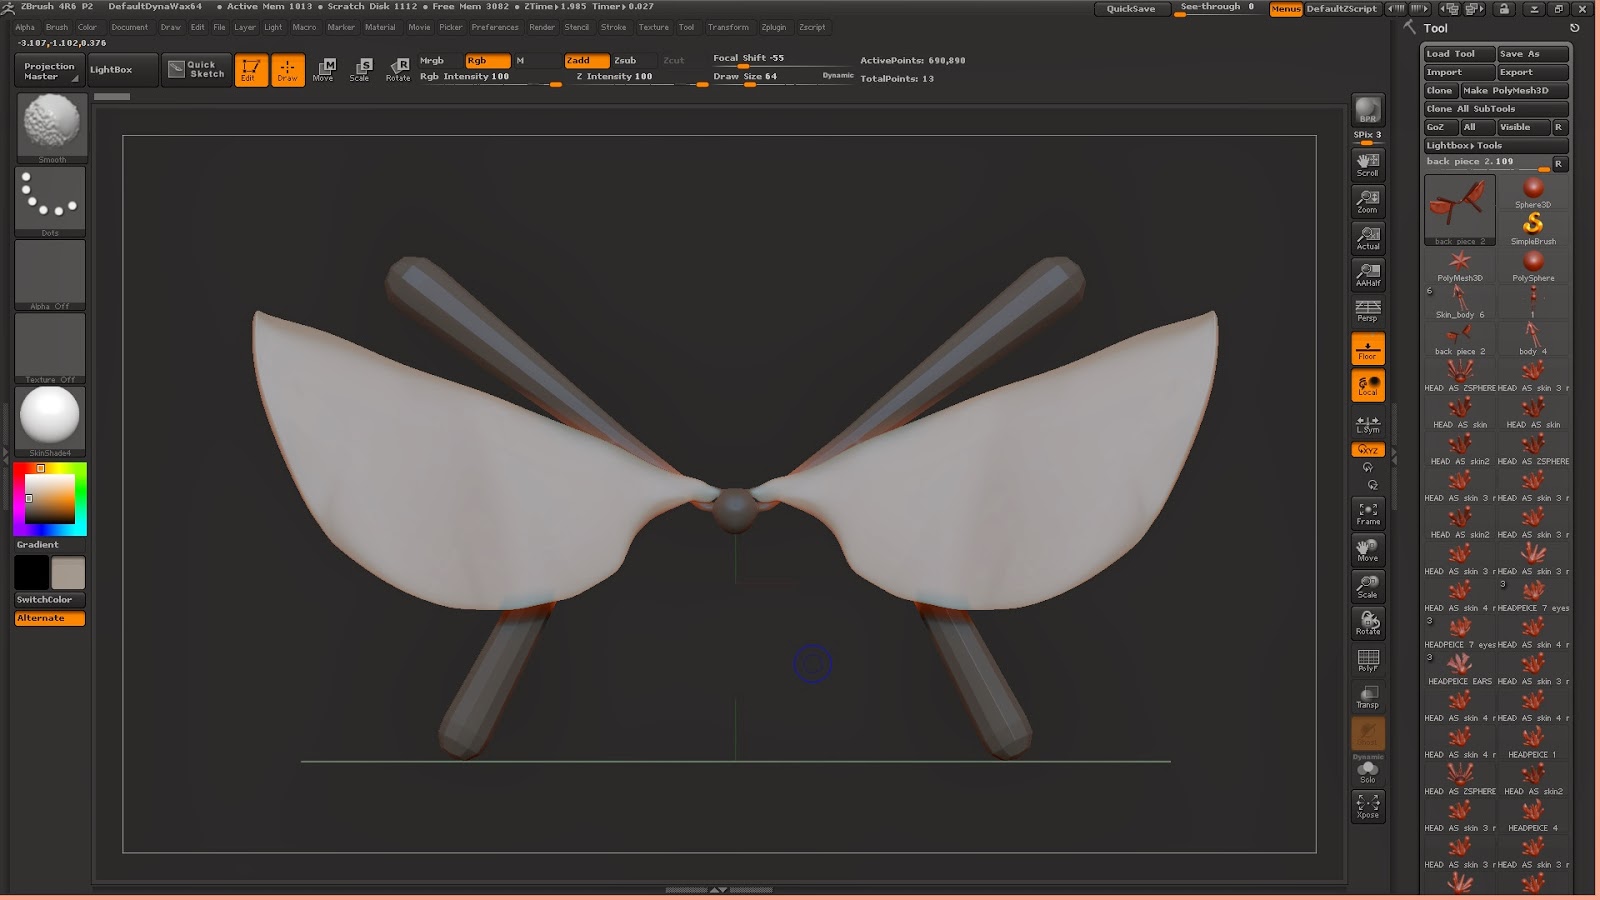
The back piece of the dress was something I was looking forward to creating as this was actually concepting in Zbrush instead of sticking with the design. I needed to make sure it look nice and fitted well at the back so I started off with Zspheres again to get the basic shape and smooth it down.
This worked out nicely and I was then able to add it as a new sub tool and sort out the sizing issue to make sure it wasn't to big. As my character is a ghostly spite I wanted her skin to be smooth without any bumps except from some of the 'wings' which have a outlined pattern on them which I had to add in.
After a little tweaking and making sure everything looked right I had completed finished my final design. Overall, for a first model, I am very pleased with it. It has turned out pretty much exactly how I had planned it too.


No comments:
Post a Comment